3D Printed Jigs, Fixtures, and Tools: Optimizing Production
How businesses improve production processes with custom 3D printed tools. From assembly jigs to gauges - practical applications explained.
Dennis
3Dennis

Contents
In every production environment, there are tools that make work easier, faster, and more accurate. Jigs that hold parts in position, fixtures that speed up assembly, gauges that enable quality control. Traditionally, these tools were expensive to make, which made them viable only for large runs.
3D printing fundamentally changes this. Custom tools become affordable for any production scale. In this article, we explore how businesses leverage this capability.
What are jigs, fixtures, and gauges?
Let’s clarify the terminology:
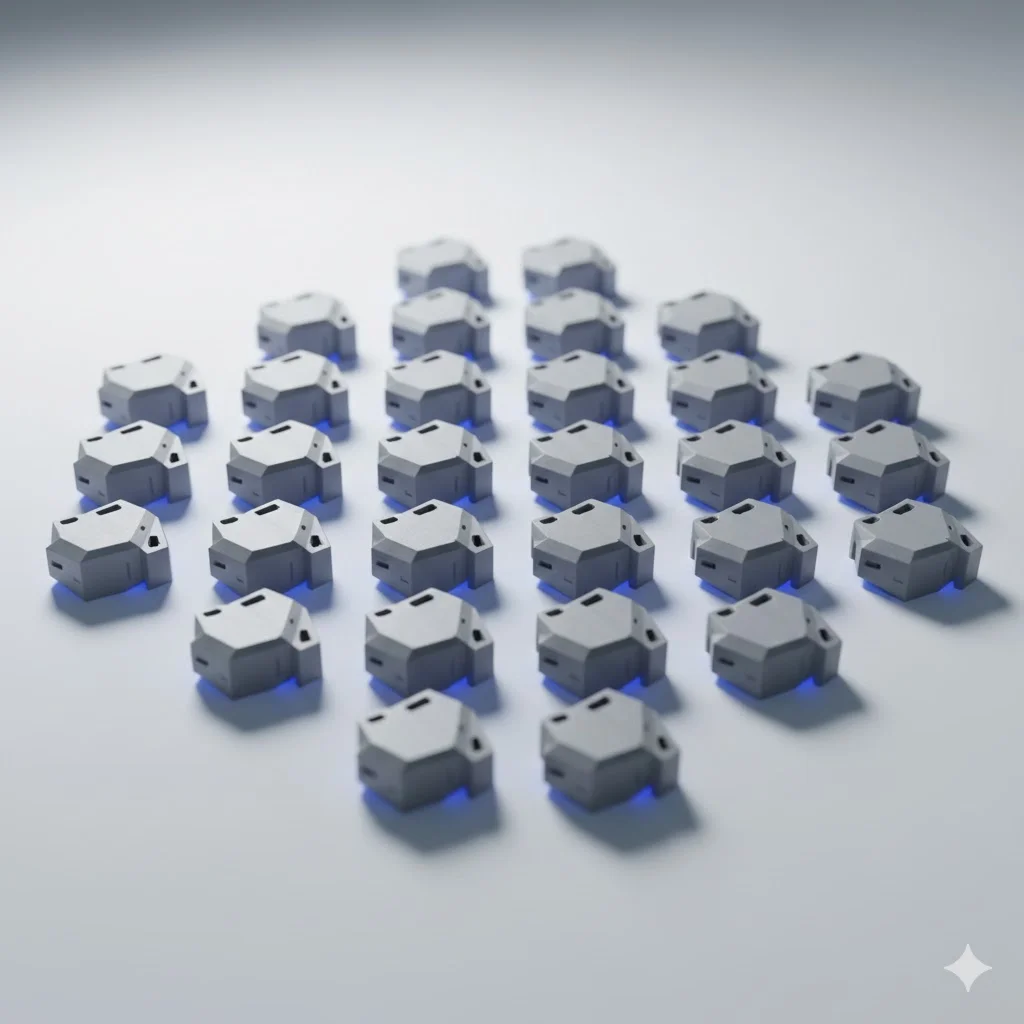
Jig - A tool that holds a workpiece in exactly the right position during an operation. For example, a jig that holds a part while you drill holes.
Fixture - A fixed point to which or with which you work. A fixture holds something in place, a jig guides the operation.
Gauge - A form used to check or shape something. A go/no-go gauge checks if a part is within tolerance. A casting gauge gives shape to material.
In practice, these terms are often used interchangeably, and that’s fine. The concept matters: custom tools that improve production.
Why 3D printed tools?
Cost savings
Traditional jigs and fixtures are often CNC milled from aluminum or steel. This easily costs hundreds to thousands of euros per piece. For small runs, this can’t be justified.
3D printed tools cost a fraction: tens of euros instead of hundreds. This makes tools viable for any production scale, even for a run of ten pieces.
Rapid iteration
Production processes evolve. Products change, problems are discovered, improvements conceived. With traditional tools, every modification is an expensive exercise.
3D printed tools you adjust in CAD and reprint. Tomorrow you have an improved version. This speed enables continuous optimization.
Perfect fit
Because you design the tools yourself for your specific application, they fit perfectly. No compromises because standard solutions don’t quite work. Every tool is custom.
Complex geometry
3D printing enables shapes impossible with milling. Internal channels for air or fluid, organic shapes that work better ergonomically, integrated functions that would otherwise need separate fabrication.
Practical applications
Assembly jigs
One of the most common applications. Assembly jigs hold parts in exactly the right position during joining.
Example: An electronics manufacturer assembled PCBs into enclosures. Previously, an employee did this by hand, which was slow and sometimes led to misplaced components.
We designed an assembly jig that holds the enclosure and PCB in exactly the right position. The employee places components, the jig guarantees perfect positioning. Result: 40% faster assembly and zero assembly errors.
Welding positioners
In welding, position is crucial. A welding positioner holds parts to be welded at exactly the right angle and distance.
Example: A metal company welded frames for machine components. Realigning each time cost time and created quality variation.
Custom 3D printed positioners (in heat-resistant material, at distance from the weld) held parts in position. Alignment time dropped from 15 minutes to 2 minutes per frame.
Gauges (Go/No-Go)
Quality control requires measurements. But not every measurement needs calipers. A go/no-go gauge gives instant answer: does it fit or not?
Example: A precision parts manufacturer had to check every shaft for diameter. With calipers this took 30 seconds per part.
A 3D printed go/no-go gauge (a ring with tolerance limits) reduced this to 2 seconds. The shaft passes through the “go” side but not the “no-go” side, done.
Cable management
Cable harnesses are tricky to assemble. Every cable must be the right length and go to the right place.
Example: A machine builder assembled complex cable harnesses for control systems. Errors were costly to fix.
A cable jig with pins for each route and length marking eliminated errors. Assembly time dropped, and quality rose to 100% first-time-right.
Masking fixtures
When painting or coating parts, certain areas must be shielded.
Example: A metal processor had to protect threaded holes during powder coating. Taping and removing took a lot of time.
3D printed plugs that fit exactly in the holes made masking and removing a breeze. Time savings: 75%.
Transport fixtures
Parts often need safe transport between processing steps or to the customer.
Example: Fragile electronic assemblies were damaged during internal transport.
Custom transport trays with perfect fit for each part completely eliminated transport damage.
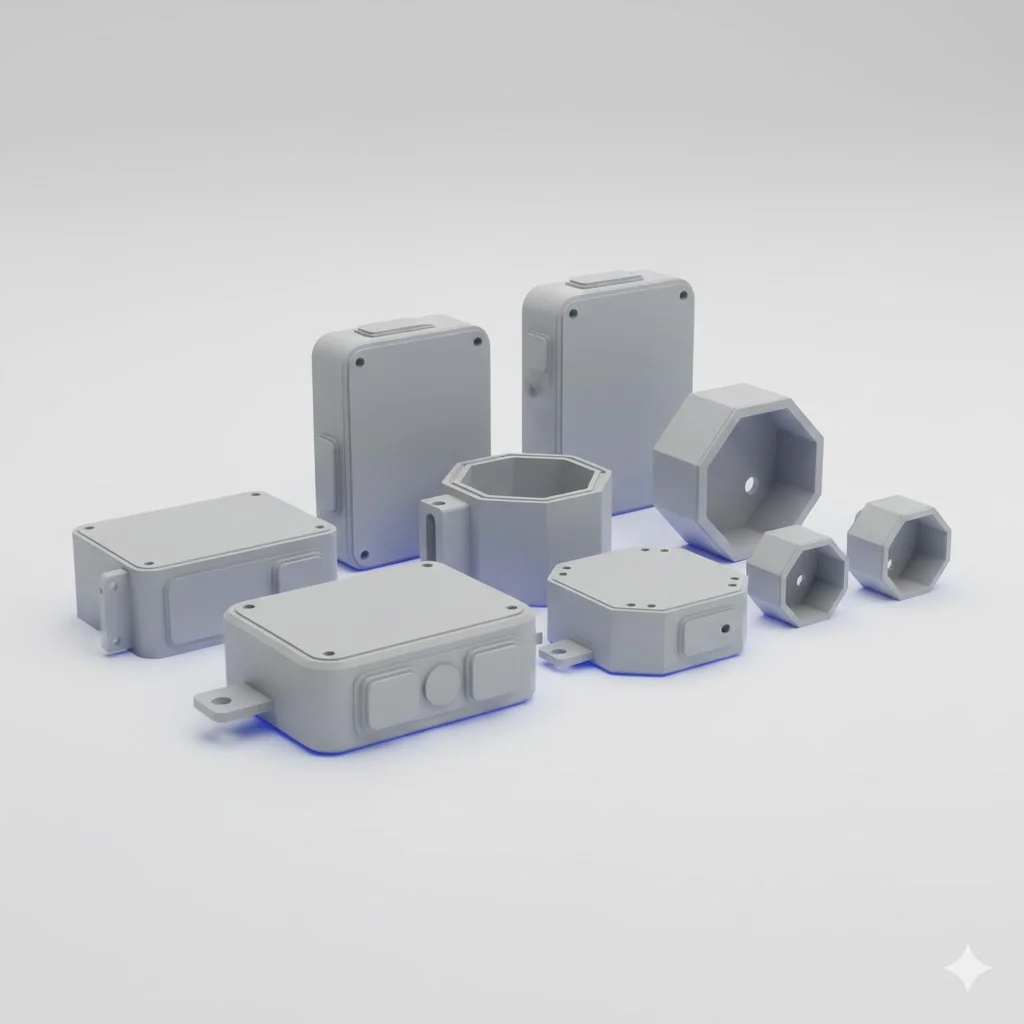
Materials for tools
Material choice depends on application:
PLA - Cheap and easy to print. Suitable for light applications without temperature stress or mechanical stress.
PETG - Our standard for most tools. Strong, wear-resistant, resistant to oils and many chemicals. Works to about 70°C.
ABS/ASA - Better resistant to higher temperatures and impact. Suitable for industrial environments.
Nylon - Extremely wear-resistant and strong. Ideal for intensively used tools.
Specialty materials - For special applications (ESD-safe, food-safe, chemically resistant) specific materials are available.
How we work
Process analysis
We start by understanding what you do and where the bottlenecks are. Sometimes the solution is different from what the client initially thought.
Design
Based on analysis, we design a tool. We consider:
- The exact function it must fulfill
- Ergonomics for the user
- Durability in the production environment
- Printability and cost efficiency
Prototype and test
First versions are tested in practice. Feedback leads to improvements. This iterative process ensures the end product really works.
Production
When the design is validated, we produce the needed quantity. Often with extra copies for backup.
Continued development
Processes change. When needed, we adapt tools or develop new variants.
Return on investment
Custom tools are an investment, but payback time is often surprisingly short.
Example calculation:
- Assembly jig costs €150
- Saves 5 minutes per assembly
- Production worker hourly rate €35
- Savings per assembly: €2.90
- ROI after 52 assemblies (about one week of production)
With frequent production, a tool pays for itself within days. After that, it’s pure profit.
Getting started
Look critically at your production processes. Where is time lost? Where do errors occur? Where is work unnecessarily hard or uncomfortable?
Each of these points is a potential application for a custom tool. And with 3D printing, “custom” has become affordable.
Contact us to discuss how we can optimize your production processes. We’re happy to visit for an analysis, or you can send us photos and descriptions of your situation.
From problem analysis to working tool in days, not months. That’s the power of 3D printed production optimization.
Keep reading
B2B 3D Printing: How Businesses Save Time and Money with Custom Parts
Discover how businesses save costs with 3D printed parts. From prototypes to production runs - the business benefits of 3D printing explained.
Custom Enclosures: 3D Printing vs Injection Molding - The Honest Comparison
When do you choose 3D printed enclosures and when injection molding? A practical comparison of costs, lead times, and quality for businesses.
Fast Lead Times: How 3D Printing Shortens Delivery Times
Waiting for parts costs money. Discover how 3D printing drastically reduces lead times - from weeks to days. Same-week delivery for businesses.
Need help with your project?
Contact us for custom 3D prints or B2B services.